Aptos CLI使用指南与REPL设计建议 | Move dApp 极速入门(六)
- 李大狗
- 发布于 2023-01-03 11:22
- 阅读 4698
梳理 Aptos CLI,顺便聊聊理想的 REPL 设计
本文一方面是 Aptos 的 CLI 工具操作指南,另一方面会延伸来讲讲笔者关于 CLI/REPL 工具设计的一些看法。
此外,关于 MOVE-based Chains 的指令快捷查询,可以看由 NonceGeekDAO 出品的 Cheetsheet:
0x01 Aptos CLI 工具操作指南
本文资料来源:
1.1 CLI 工具抽象功能拆解
不管是哪条链,CLI 工具抽象而言会包括如下功能:
- 启动一条本地测试链
- 连接到一个链节点
- 获取链信息
- 账户管理
- 领取测试币(Faucet)
- 转账
- 部署合约
- 合约(模块情况查看)
- 合约交互
- 资源查看(Only for Move-based Chain)
- 链治理(Optional)
1.2 安装 Aptos CLI
见:
https://aptos.dev/cli-tools/aptos-cli-tool/install-aptos-cli
一般而言,推荐直接使用预编译工具( precompiled binary )的方式,这样会省去编译中可能遇到的错误。
1.3 初始化 Aptos CLI
将使用配置 config.yaml 创建一个名为 .aptos/ 的本地文件夹,该配置可用于在 CLI 运行期间存储配置。 这是您运行时本地文件,因此您需要继续从该文件夹运行 CLI,或在另一个文件夹中重新初始化。
如果初始化时什么都使用默认值,aptos CLI 会连接到测试网上:
$ ./aptos init
Configuring for profile default
Enter your rest endpoint [Current: None | No input: https://fullnode.devnet.aptoslabs.com]

No rest url given, using https://fullnode.devnet.aptoslabs.com...
Enter your faucet endpoint [Current: None | No input: https://faucet.devnet.aptoslabs.com]

No faucet url given, using https://faucet.devnet.aptoslabs.com...
Enter your private key as a hex literal (0x...) [Current: None | No input: Generate new key (or keep one if present)]

No key given, generating key...
Account 50A49D913AA6381C01579E3FC00784B49AFA3A771F06389EBC65F8FF3A4E9A7D doesn't exist, creating it and funding it with 10000 coins
Aptos is now set up for account 50A49D913AA6381C01579E3FC00784B49AFA3A771F06389EBC65F8FF3A4E9A7D!  Run `aptos help` for more information about commands

{
  "Result": "Success"
}
1.4 启动一条本地测试网并配置 CLI
启动本地测试链:
$ ./aptos node run-local-testnet --with-faucet
Building genesis with 1 validators. Directory of output: "/Users/liaohua/aptos/.aptos/testnet"
Completed generating configuration:
    Log file: "/Users/liaohua/aptos/.aptos/testnet/validator.log"
    Test dir: "/Users/liaohua/aptos/.aptos/testnet"
    Aptos root key path: "/Users/liaohua/aptos/.aptos/testnet/mint.key"
    Waypoint: 0:81bffa64e06416fe9978f1e91d9f58e222836d303a3984dbd470d2c821a743b2
    ChainId: testing
    REST API endpoint: http://0.0.0.0:8080
    Metrics endpoint: http://0.0.0.0:9101/metrics
    FullNode network: /ip4/0.0.0.0/tcp/6181

Aptos is running, press ctrl-c to exit

Faucet is running.  Faucet endpoint: 0.0.0.0:8081
给 CLI 新建一个账户配置。注意,上面那个命令的窗口不要关。
$ ./aptos init --profile local --rest-url http://localhost:8080 --faucet-url http://localhost:8081
Configuring for profile local
Using command line argument for rest URL http://localhost:8080/
Using command line argument for faucet URL http://localhost:8081/
Enter your private key as a hex literal (0x...) [Current: None | No input: Generate new key (or keep one if present)]

No key given, generating key...
Account 4a327db3bce440f47d65b293a9688a7fd59e69a3cc1ddf0b2889a3e4f6d4de62 doesn't exist, creating it and funding it with 10000 coins
Aptos is now set up for account 4a327db3bce440f47d65b293a9688a7fd59e69a3cc1ddf0b2889a3e4f6d4de62!  Run `aptos help` for more information about commands
{
  "Result": "Success"
}
本地测试链的重置:
$ ./aptos node run-local-testnet --with-faucet --force-restart1.5 账号管理
# 拿测试币
$ ./aptos account fund-with-faucet --profile $PROFILE --account $PROFILE
{
  "Result": "Added 10000 coins to account 4a327db3bce440f47d65b293a9688a7fd59e69a3cc1ddf0b2889a3e4f6d4de62"
}
# 创建 resource account
$ ./aptos account create-resource-account --profile $PROFILE --seed 1
Resource Account的所有权由一个资源控制,可以存储在账户里,通过 Resource Account我们可以实现类似 Solidity 里的合约账户功能。
1.6 资源查看
$ ./aptos account list --query resources --account default --profile $PROFILE # or just "account list"
{
  "Result": [
    {
      "0x1::coin::CoinStore<0x1::aptos_coin::AptosCoin>": {
        "coin": {
          "value": "10000"
        },
        ...
]}
1.7 模块查看
可以通过不同类型的查询来查看帐户下的不同项目。 目前,支持“资源”和“模块”,但即将推出更多查询类型。 例如,要获取模块:
$ ./aptos account list --query modules --profile $PROFILE1.8 转账操作
我们先创建一个新的用户账号,依然是链接本地测试网:
./aptos init --profile bob --rest-url http://localhost:8080 --faucet-url http://localhost:8081然后就可以在不同的 Profile 间转账了:
./aptos account transfer --account bob --amount 100 --profile $PROFILE1.9 合约编译
以 hello_blockchain 为例。
https://github.com/aptos-labs/aptos-core/blob/main/aptos-move/move-examples/hello_blockchain
./aptos move compile --package-dir [path-to-example]/hello_blockchain --named-addresses hello_blockchain=$PROFILE --profile $PROFILE编译好后的文件可以在hello blockchain 文件夹中查看到。
1.10 合约部署
注意:
需要把该文件夹下的
build文件夹删除,不然会报错。
./aptos move publish --package-dir [path-to-example]/move-examples/hello_blockchain --named-addresses hello_blockchain=local  --profile $PROFILE
package size 1601 bytes
{
  "Result": {
    "transaction_hash": "0xe9468512b4aa83be6f0ab1fc49bfc329b2f99fb9db76ec015d90cacdd0649b57",
    "gas_used": 182,
    "gas_unit_price": 1,
    "sender": "4a327db3bce440f47d65b293a9688a7fd59e69a3cc1ddf0b2889a3e4f6d4de62",
    "sequence_number": 4,
    "success": true,
    "timestamp_us": 1662198442260668,
    "version": 62620,
    "vm_status": "Executed successfully"
  }
}
1.11 合约调用
./aptos move run --function-id 4a327db3bce440f47d65b293a9688a7fd59e69a3cc1ddf0b2889a3e4f6d4de62::message::set_message --args string:Hello!  --profile $PROFILE
{
  "Result": {
    "transaction_hash": "0x9cf6782132a17f4c04047bc4823e26b79811ed94bf524f49c62ca47c25a43028",
    "gas_used": 39,
    "gas_unit_price": 1,
    "sender": "4a327db3bce440f47d65b293a9688a7fd59e69a3cc1ddf0b2889a3e4f6d4de62",
    "sequence_number": 5,
    "success": true,
    "timestamp_us": 1662198697122879,
    "version": 66122,
    "vm_status": "Executed successfully"
  }
}
1.13 Generate Keys
aptos key generate --key-type ed25519 --output-file output.key0x02 REPL 设计建议
💡什么是 REPL?
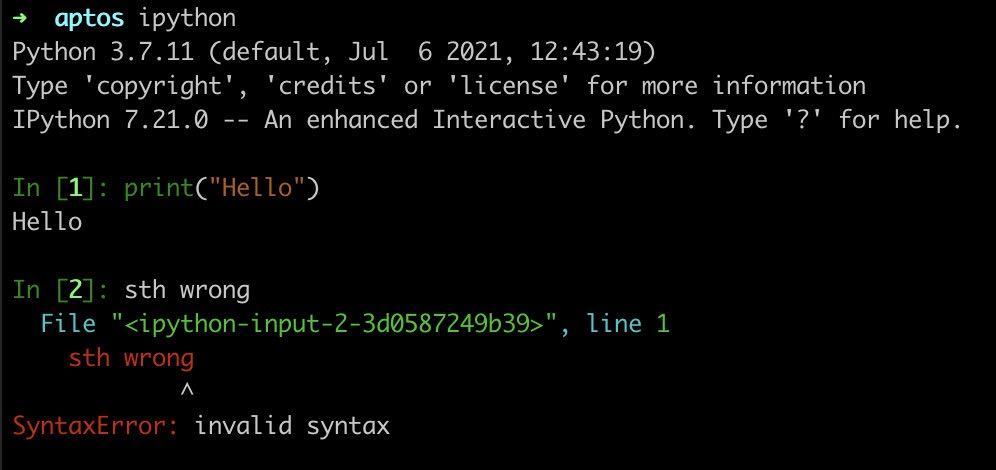
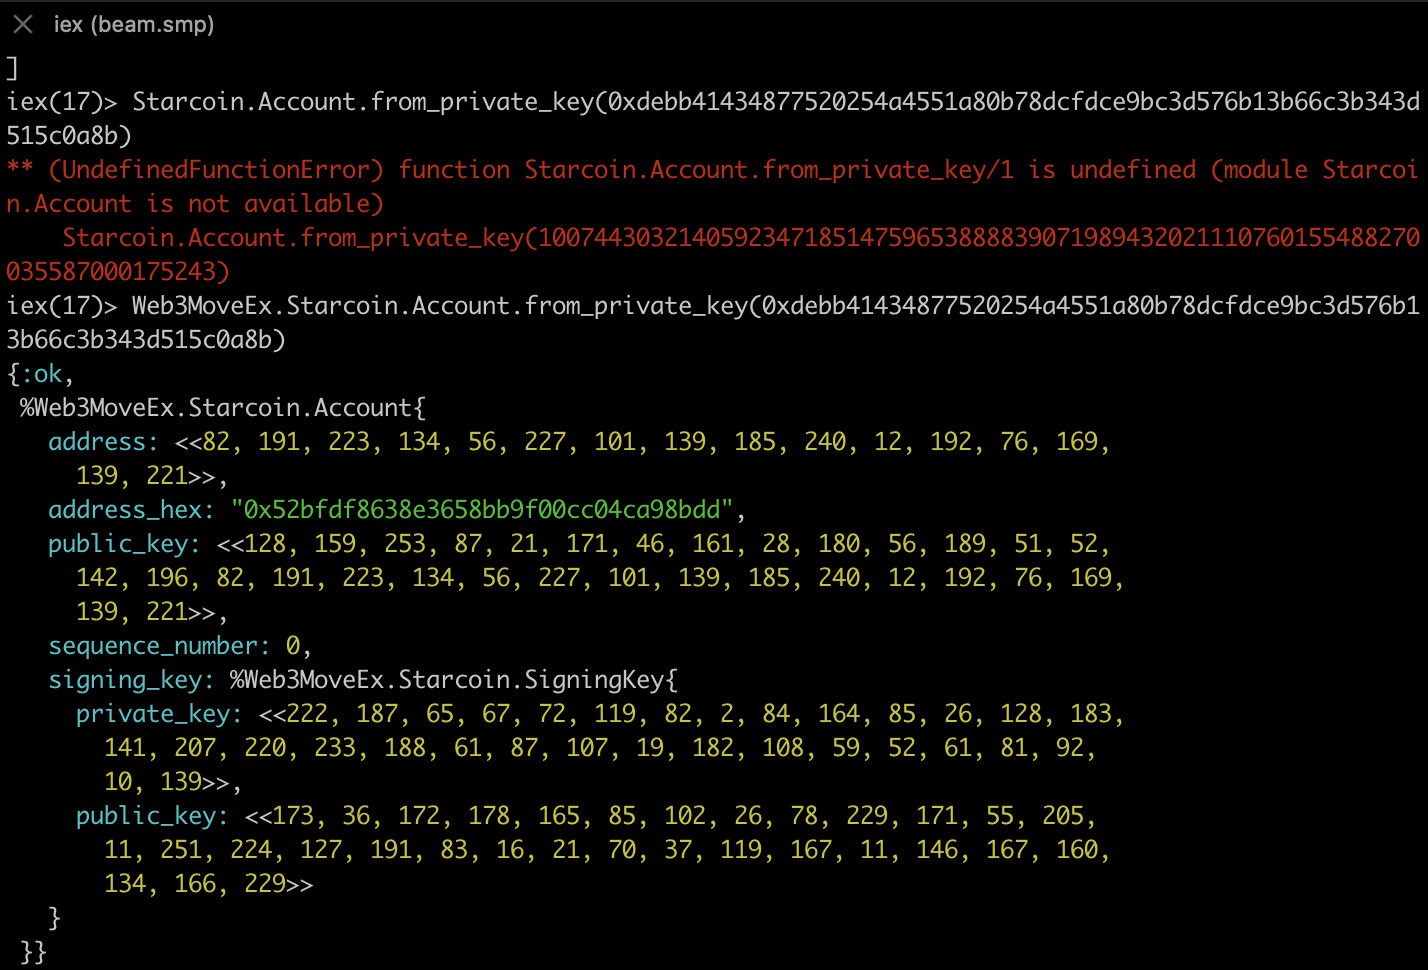
REPL 即我们常说的控制台,有时也被称之为 CLI。REPL 在我们的开发工作中很常用:
- Bash
- Python REPL:包括原始的
python repl和ipython- iex:Elixir 的 REPL
- Blockchain REPL:可以说是区块链的标配,如
FISCO BCOS的控制台和Starcoin CLI。
一个让人心旷神怡的理想主义的 REPL 应具备如下特质(个人主观意见):
2.1 色彩丰富
通过不同的色彩区分不同的语句是一个很好的实现。


2.2 支持历史查询
分为「弱支持」和「强支持」。弱支持的话即简单的实现通过↑↓查看历史命令,强支持的话可以通过输入一部分来限制查询范围,例如输入print之后按↑↓查询的是所有输入过的print*的历史命令。
2.3 支持命令补全
最理想的情况是可以通过tab键自动提示。不过如果还没支持命令补全,有--help也可以。

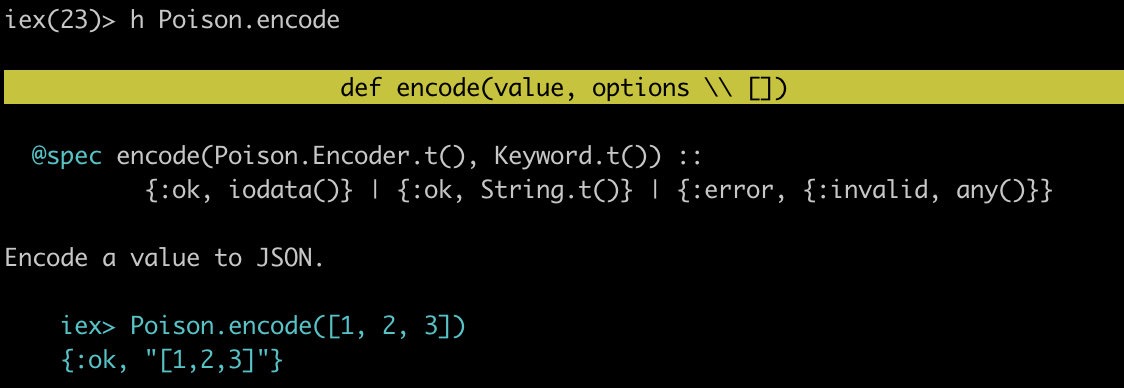
2.4 支持命令帮助
约定俗成是在命令后加上--help来查看命令帮助。在这一条上,支持Markdown语法是加分项。

