AO-Counter | AO 极速入门(一)
- PermaDAO
- 发布于 2024-07-05 16:17
- 阅读 3957
实现一个包括前端与后端的 AO-based 计数器。
 作者:李大狗
审阅:outprog
来源:内容公会 - 新闻
AO-Counter | AO 极速入门(一)
本文实现关于 AO 的第一个案例,一个基于 AO 的计数器,每点击一次按键计数器 +1,同时点击者的地址被记录在 AO Process 中的列表中。
参考自:
Repo:
Vercel version:
Arweave version:
https://arweave.net/bleZF-gxe_vv0RYMNhHABsvq6wvhvmBBnQ5lfzwJJKQ
Process on ao.link:
https://www.ao.link/#/entity/Rijbx6FduUMdCZM0tJ4PPxXljUNy1m0u_kmMIFGFM5c
0x01 什么是 AO?
💡参考资料 ——
AO:构建一个去中心化的 Erlang: https://permadao.com/permadao/AO-Erlang-ae1c8ab020b24e379457d92014e3d09e
https://permadao.com/permadao/ao-9e58170a1c9c41628b1732eb13098209
当我们提到程序,我们可以把其抽象为两样东西 —— 「计算」和 「存储」。
以太坊从分布式计算出发,先着重智能合约,然后走向存储,所以我们可以看到 ETH Storage。
Arweave 从分布式存储出发,先完成了存储层,然后走向计算,所以我们可以看到 AO。
AO 继承自 Erlang 哲学。
所以 Erlang 与 AO 以及我们构建的一切深深地交织在一起,这不仅仅是架构,也是一种哲学甚至几乎是美学的交融。虽然我们不再做那种八十年代的电话呼叫的事情,但还是非常接近。并且,我们甚至为它被称为超级光束设计了 Logo。
—— AO:构建一个去中心化的 Erlang
Erlang 哲学的核心就是轻量级的 Process 的设计原则与 Process 间的消息传递机制:
+-------------+             +-------------+
| Process 0x1 |             | Process 0x2 |
+-------------+             +-------------+
|  Unique ID  |             |  Unique ID  |
+-------------+     Msg     +-------------+
|    Sender   | ----------> |   Handler   |
+-------------+     Msg     +-------------+
|   Handler   | <---------- |    Sender   |
+-------------+             +-------------+
|    Memory   |             |    Memory   |
+-------------+             +-------------+
所以,我们可以把 AO 理解成无数个 Process 构建的 Perma Decentralized Process Network,其中的关键点是 Process 相互隔离 ,不同的 Process 并不共享内存池。
这是一个高度抽象的模型,将其落实到应用场景里,会有很多迷人的可能性。
例如,用于构建 Autonomous AI Agent Network:
                    +--------- An AI Agent(A Process) -----------+
                    |                              Users         |
                    |                                 ↕          |
           Msg      | +----------------+      +----------------+ |
        +------------>| Vector Dataset |---+  | Bot, App, dApp | |
The other AI Agents | |     Upgrade    |   |  +----------------+ |
        &           | |  Autonomouslly |   |          ↕          |
      Users         | +----------------+   |  +----------------+ |
        |           |                      |  |   Multi-LLM    | |
        |           |                      |  +----------------+ |
        |           |                      |          ↕          |
        |           | +----------------+   |  +----------------+ |
        |  Msg      | |  Prompt Chain  |---+--| Edge Functions | |
        +------------>|     Upgrade    |      +----------------+ |
                    | |  Autonomouslly |                         |
                    | +----------------+                         |
                    +--------------------------------------------+
                    |                Unique ID(DID)              |
                    +--------------------------------------------+
                    |                Economic Layer              |
                    +--------------------------------------------+
                    |               Governance Layer             |
+--------------------------------------------+更多关于 Erlang 哲学的内容可查看:
面对软件错误构建可靠的分布式系统 ——
0x02 Lua Process 的实现与部署
我们首先通过 Lua 来实现轻量级 Process。
2.1 极简 CLI 操作指南
如何安装客户端请查看:
https://cookbook_ao.arweave.dev/tutorials/begin/preparations.html
我们通过 aos 启动一个 aos CLI:
$ aos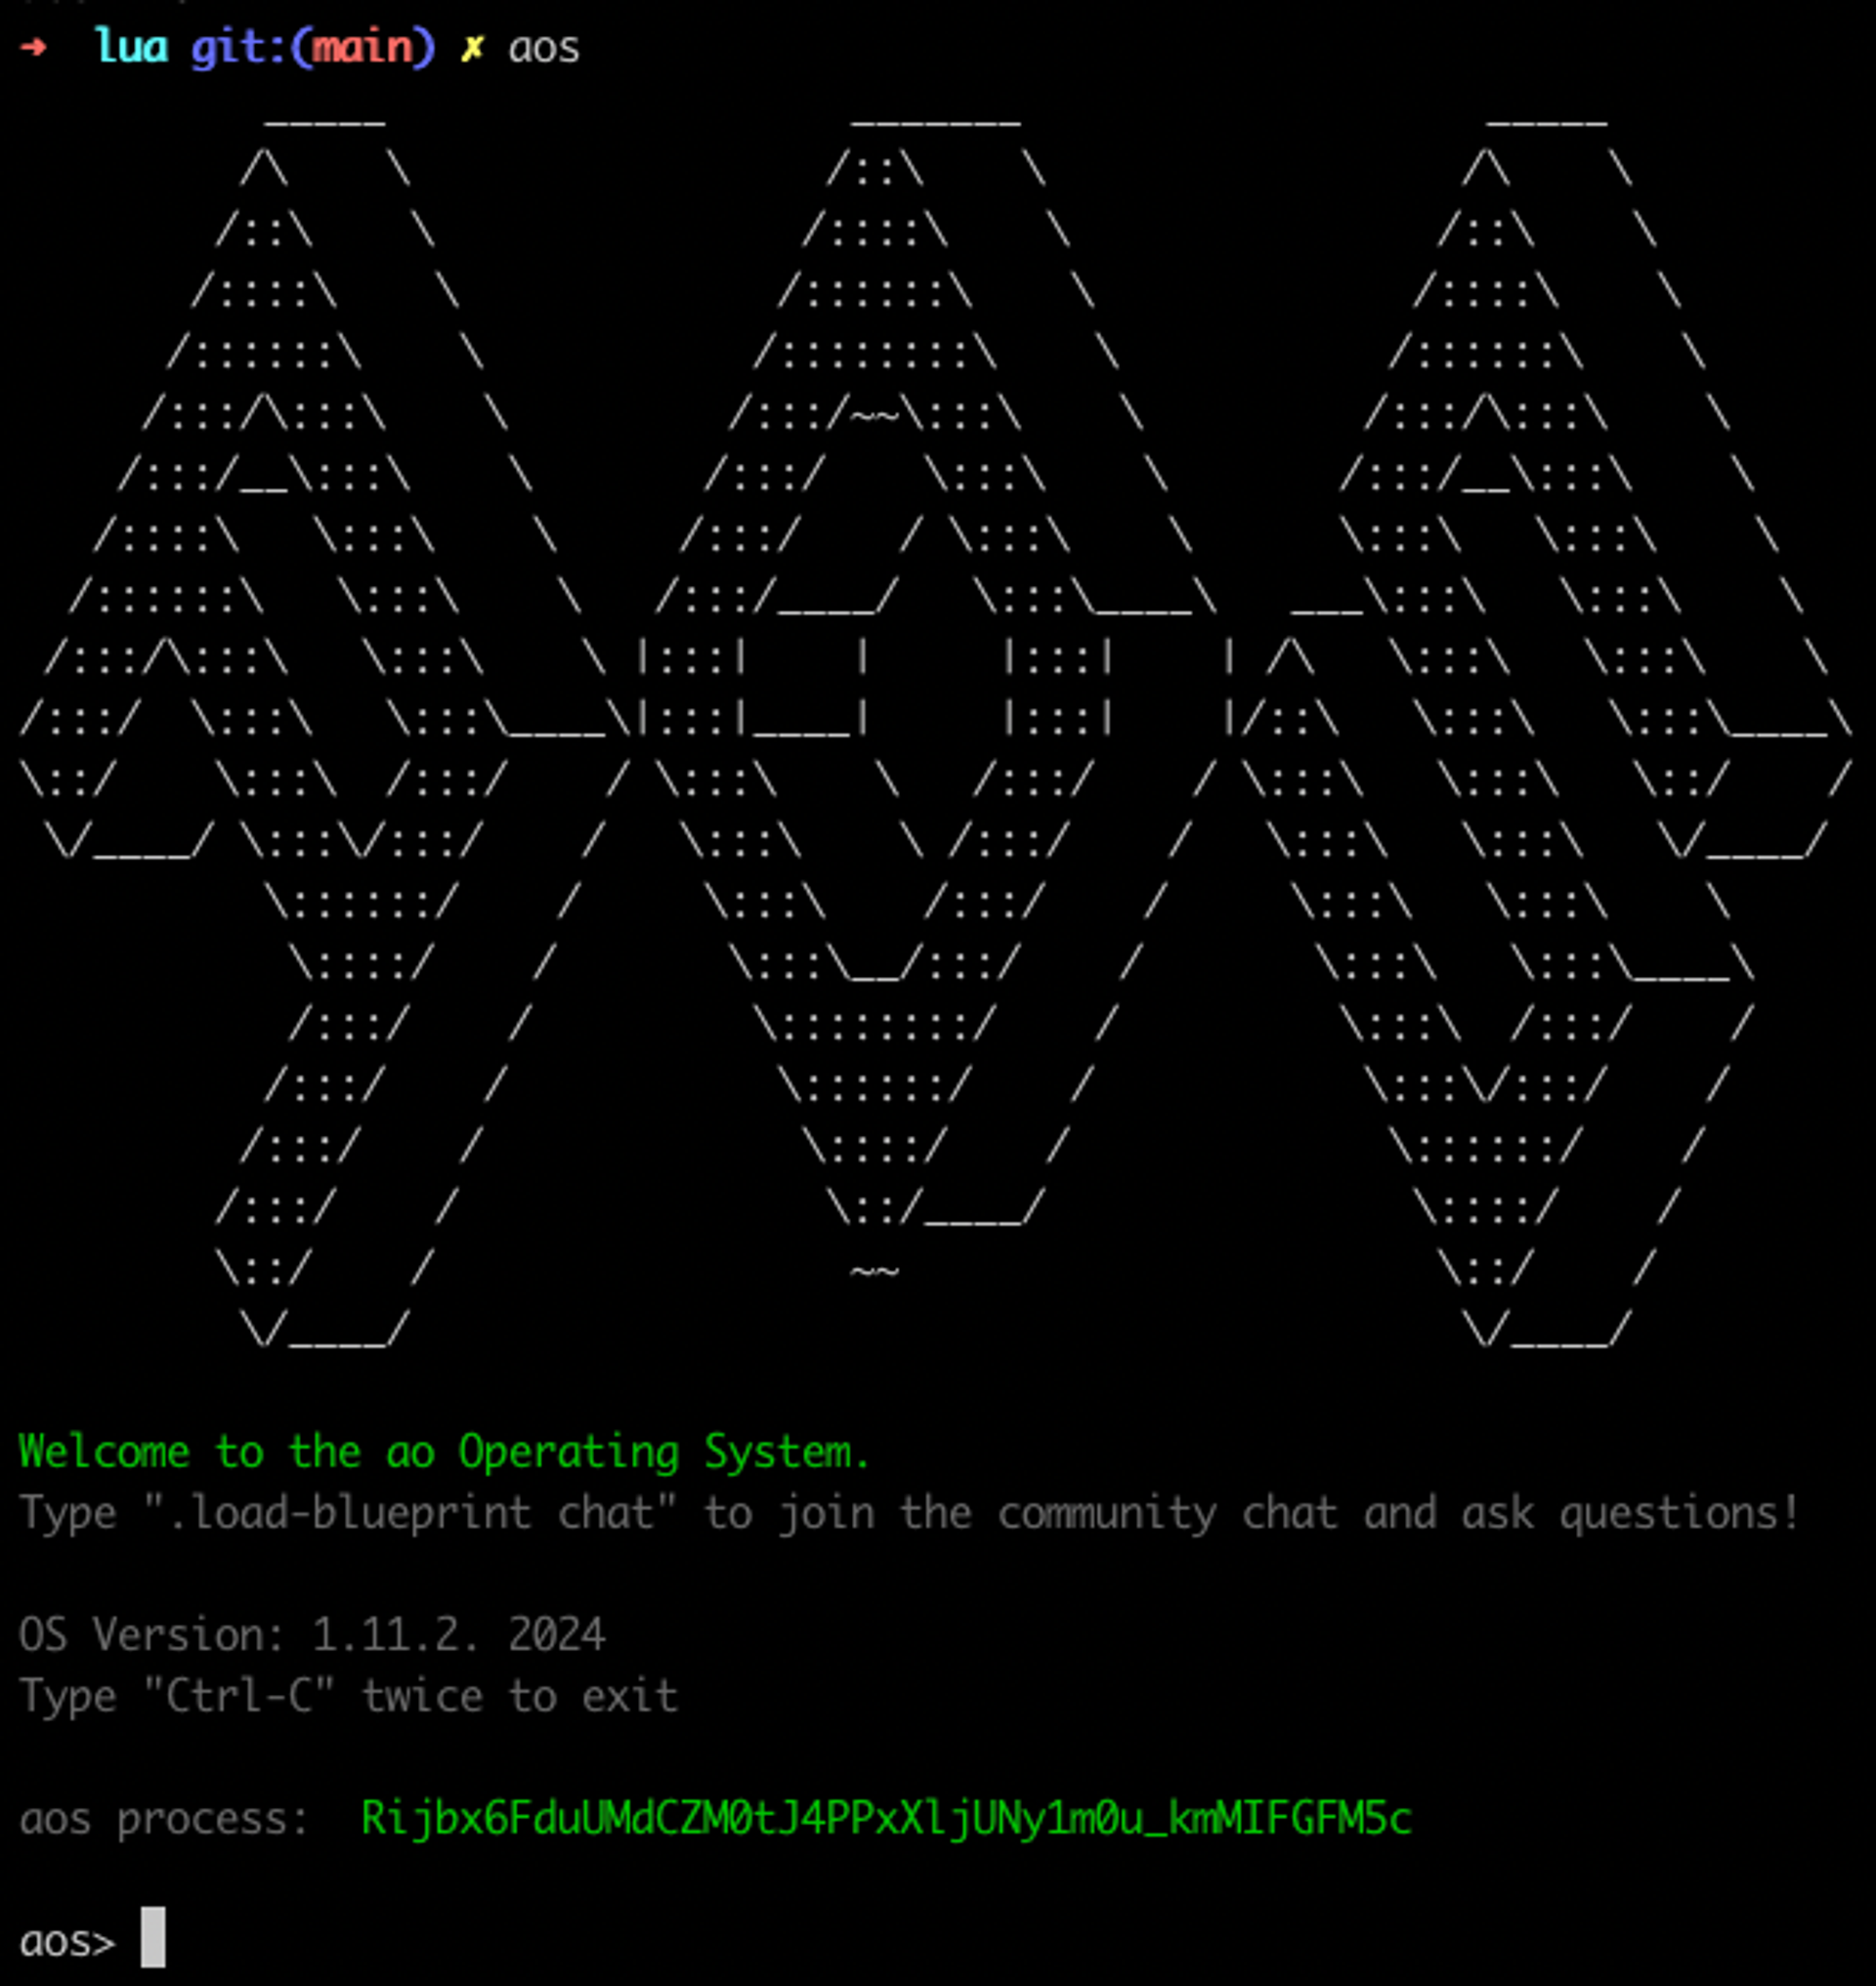
通过ao.id我们可以查看当前 process 的 id:
aos> ao.id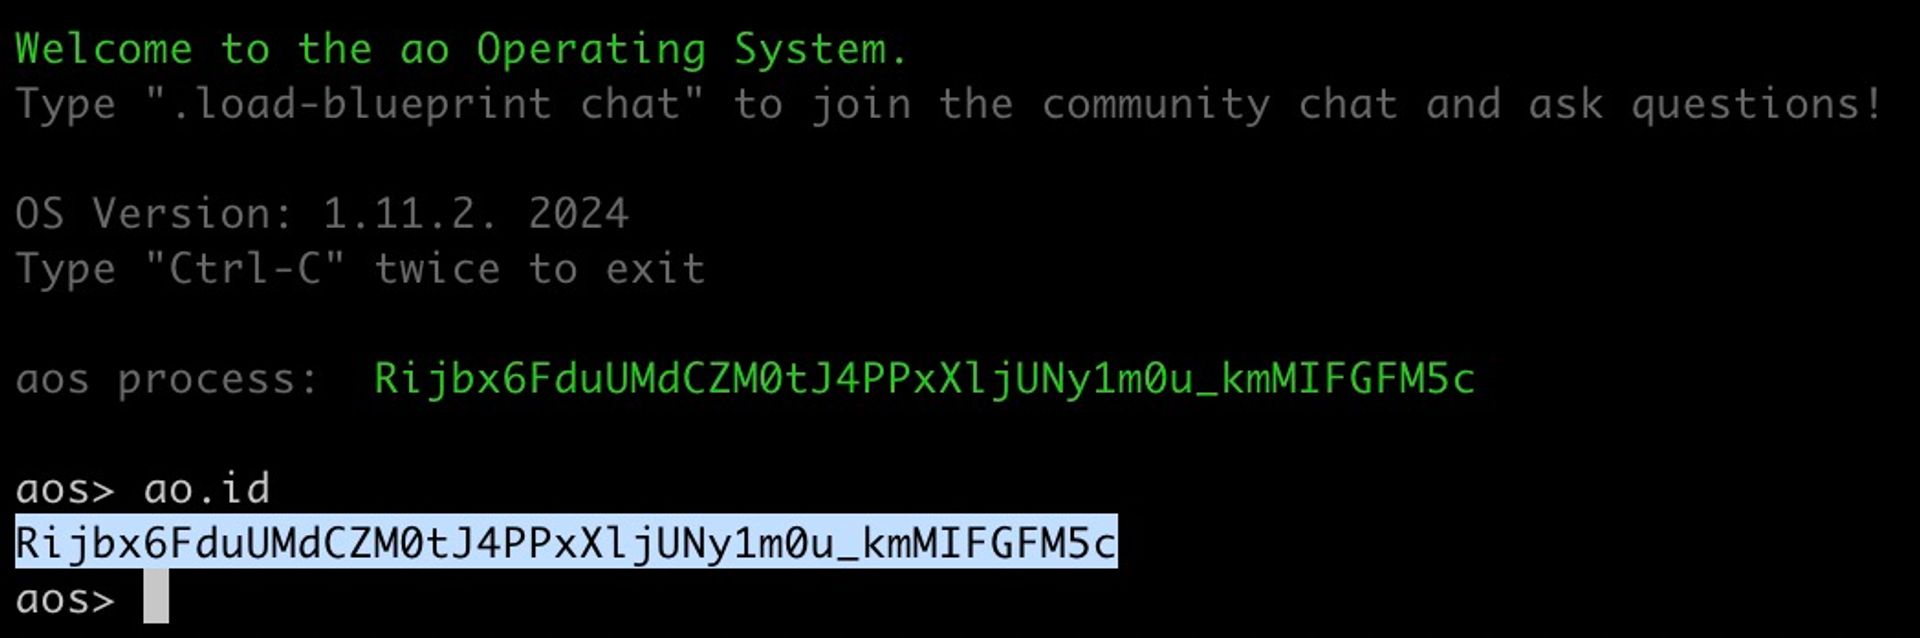
在 ao.link 上我们可以看到和这个 process相关的信息:
https://www.ao.link/#/entity/Rijbx6FduUMdCZM0tJ4PPxXljUNy1m0u_kmMIFGFM5c
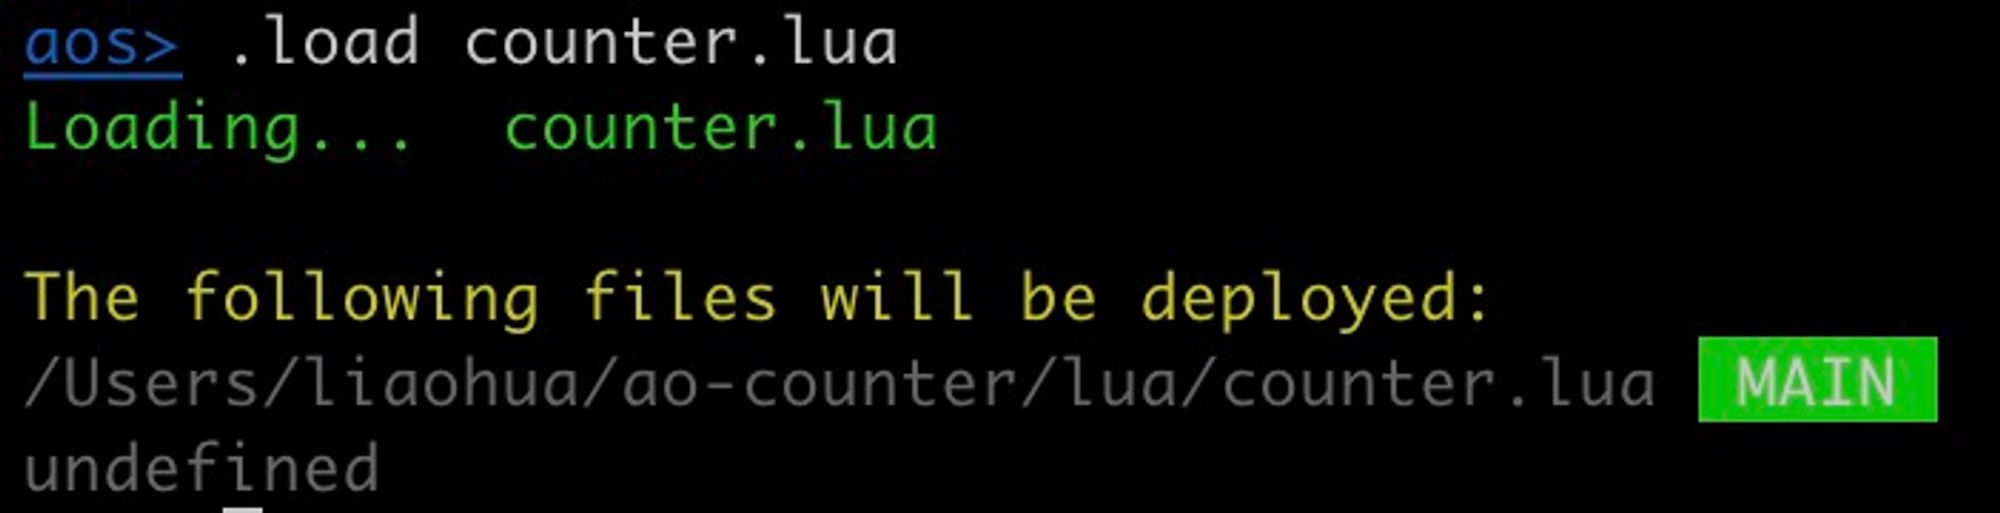
然后我们通过:
aos> .load counter.lua即可将代码加载到 process 里。
2.2 Process 核心代码解析
Players = Players or {}

-- bizz buzz
count = 0
-- .load counter.lua
-- Send({ Target = ao.id, Action = "Click" })

Handlers.add(
  "AddNew",
  Handlers.utils.hasMatchingTag("Action", "AddNew"),
  function (msg)
    table.insert(Players, msg.Data)
    count = #Players
    Handlers.utils.reply("bizz buzz")(msg)
  end
)

Handlers.add(
  "Info",
  Handlers.utils.hasMatchingTag("Action", "Info"),
  function (msg)
    -- TODO: impl the info with the source code of this snippet
    info = [[
Players = Players or {}

-- bizz buzz
count = 0
-- .load counter.lua
-- Send({ Target = ao.id, Action = "Click" })

Handlers.add(
  "AddNew",
  Handlers.utils.hasMatchingTag("Action", "AddNew"),
  function (msg)
    table.insert(Players, msg.Data)
    count = #Players
    Handlers.utils.reply("bizz buzz")(msg)
  end
)
      ]]
    Handlers.utils.reply(info)(msg)
  end
)
在最开始我们定义了一个列表 Players 和一个整型 counter:
Players = Players or {}
count = 0
核心 Handler ——
Handlers.add(
  "AddNew",
  Handlers.utils.hasMatchingTag("Action", "AddNew"),
  function (msg)
    table.insert(Players, msg.Data)
    count = #Players
    Handlers.utils.reply("bizz buzz")(msg)
  end
)
"AddNew" 是 Handler 的名字,Handlers.utils.hasMatchingTag("Action", "AddNew") 表示 msg 的操作符是 "AddNew",则触发这个 Handler。
在触发的时候执行匿名函数,匿名函数进行两个操作:
table.insert(Players, msg.Data)
count = #Players
向列表插入一个新的 item,值为 msg.Data。
将 counter 更新为 Players 列表的长度。
Handlers.utils.reply("bizz buzz")(msg):函数返回值为bizz buzz。
Handlers.add(
  "Info",
  Handlers.utils.hasMatchingTag("Action", "Info"),
  function (msg)
    -- TODO: impl the info with the source code of this snippet
    info = [[
Players = Players or {}

-- bizz buzz
count = 0
-- .load counter.lua
-- Send({ Target = ao.id, Action = "Click" })

Handlers.add(
  "AddNew",
  Handlers.utils.hasMatchingTag("Action", "AddNew"),
  function (msg)
    table.insert(Players, msg.Data)
    count = #Players
    Handlers.utils.reply("bizz buzz")(msg)
  end
)
      ]]
    Handlers.utils.reply(info)(msg)
  end
)
第二个 Handler 的核心作用是将其他的源代码作为返回值,这样我们通过一种 tricky 的方式实现了代码开源:)。
在 ao.link 中点击 Fetch * 查看 Info:
2.3 CLI 的更多操作
在加载完.lua文件后,我们在 CLI 中可以实践更多操作。
Players
输入变量查看值。

💡也可以直接运行 lua 代码。
Send({ Target = ao.id, Data = "0x0", Action = "AddNew" })
向 Process 发送信息。
0x03 React 前端的实现与部署
Lua Process 相当于传统程序的后端,在实现 Lua Process 之后,我们再开发一下前端,实现对 Lua Process 的调用,就可以完成我们的程序了。
3.1 前端核心代码
见:
3.1.1 环境变量
在 dapp/src/app/util/consts.ts 配置 Process 的 Unique ID,在这里是 AO_COUNTER:
export const AO_COUNTER = "Rijbx6FduUMdCZM0tJ4PPxXljUNy1m0u_kmMIFGFM5c";3.1.2 Process 的变量调用
dapp/src/app/pages/SitePage.tsx :
...
import {
  getWalletAddress,
  getDataFromAO,
  connectWallet,
  messageToAO,
  shortAddr,
} from "../util/util";
...
async getCount() {
    let replies = await getDataFromAO(AO_COUNTER, "GetCount");
    console.log("get count:", replies);
    this.setState({ count: replies }); // Update state with the count
  }
  async start() {
    this.getCount();
  }
...
通过调用封装的 getDataFromAO 方法拿到 Process 中的变量。
3.1.3 Process 的函数调用
...
async addCount() {
    let response = await messageToAO(AO_COUNTER, this.state.address, "AddNew");
    console.log("add count:", response);
  }
...
handleClick = (e: { currentTarget: any }) => {
  console.log("Button clicked!");
  const button = e.currentTarget;
  const ripple = document.createElement("span");
  ripple.classList.add("ripple");
  button.appendChild(ripple);

  // Remove the span after the animation is done
  setTimeout(() => {
    ripple.remove();
  }, 600);

  this.addCount();
  setTimeout(() => {
    this.getCount();
  }, 1000); // Delay getCount by 1 second
};
...
<div className="button-container">
  <button onClick={this.handleClick}>+ 1</button>
  <p>
    {" "}
    ={">"} {this.state.count}
  </p>
</div>
...
在 button 被点击时,调用 handleClick 函数,进而调用 messageToAO 方法,给 process 传递信息。
3.1.4 钱包连接模块
...
async disconnectWallet() {
  this.setState({ message: "Disconnect..." });

  Server.service.setIsLoggedIn("");
  Server.service.setActiveAddress("");
  localStorage.removeItem("id_token");

  this.setState({ address: "", message: "" });
}

async connect2ArConnect() {
  let connected = await connectWallet();
  if (connected) {
    let address = await getWalletAddress();
    this.setState({ address: address });
    console.log("user address:", address);
    this.afterConnected(address);
  }
}

async afterConnected(address: string, othent?: any) {
  Server.service.setIsLoggedIn(address);
  Server.service.setActiveAddress(address);
}
...
{this.state.address ? (
  <div>
    <div
      className="app-icon-button connect"
      onClick={() => this.disconnectWallet()}
    >
      {shortAddress}
    </div>
  </div>
) : (
  <div
    className="app-icon-button connect"
    onClick={() => this.connect2ArConnect()}
  >
    <BsWallet2 size={20} />
    ArConnect
  </div>
)}
调用 ArConnect 钱包,拿到 Wallet Address。
3.2 部署到 Vercel 上
我们在 dapp 中安装了vercel插件,所以可以通过一行命令部署到 vercel 托管平台上:
$ yarn vercel --prod在部署完成后,我们就可以对其访问了:
3.3 Unstoppable Program — 部署到 Arweave 上
我们也可以选择将前端程序也托管到 Arweave 上,实现彻底的去中心化。
💡Guide Video:
以 ArDrive 为例:
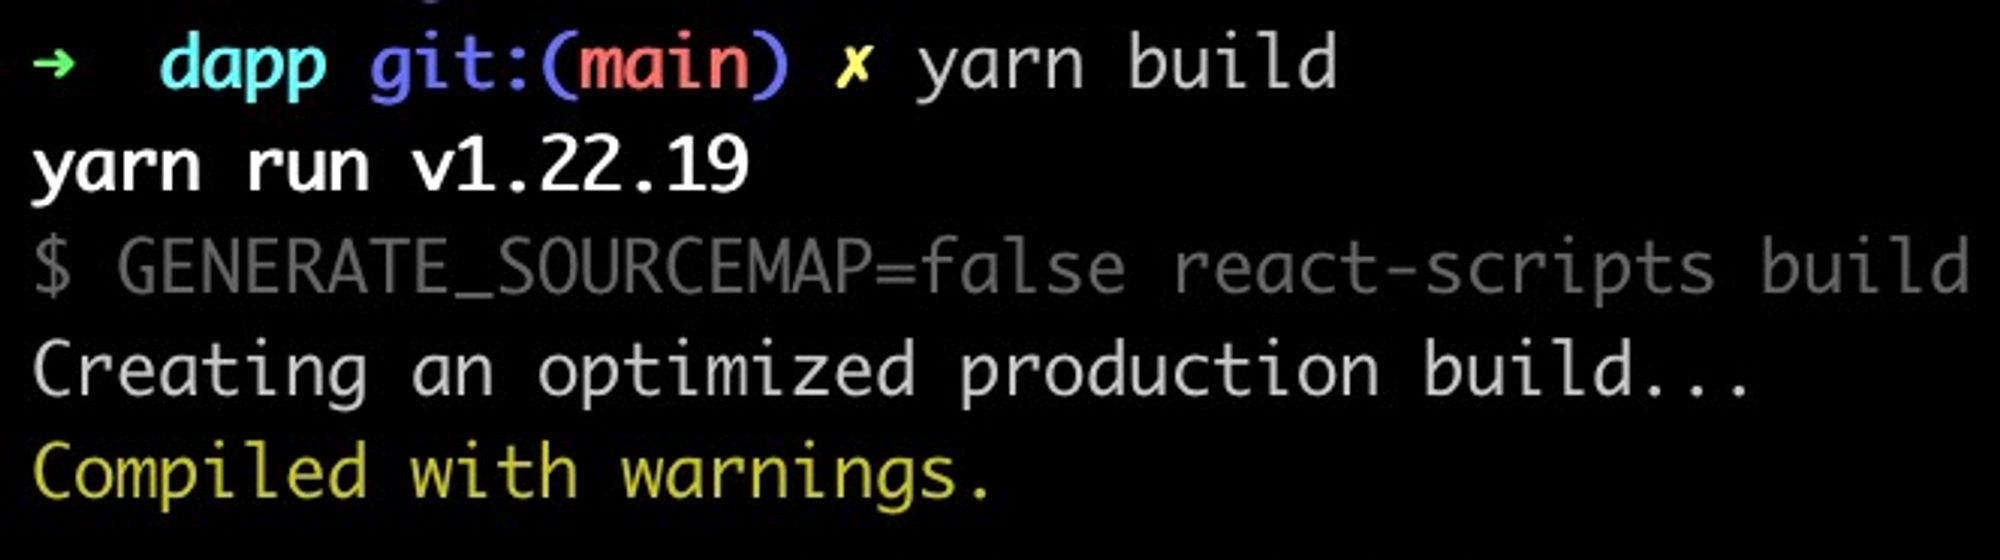
1/ 通过 yarn build 生成静态页面
2/ 将文件夹上传到 ArDrive
3/ 为网站生成 manifest
4/ 复制 manifest id 以访问:
通过:
就可以访问你部署的应用了!
5/ 配置传统域名
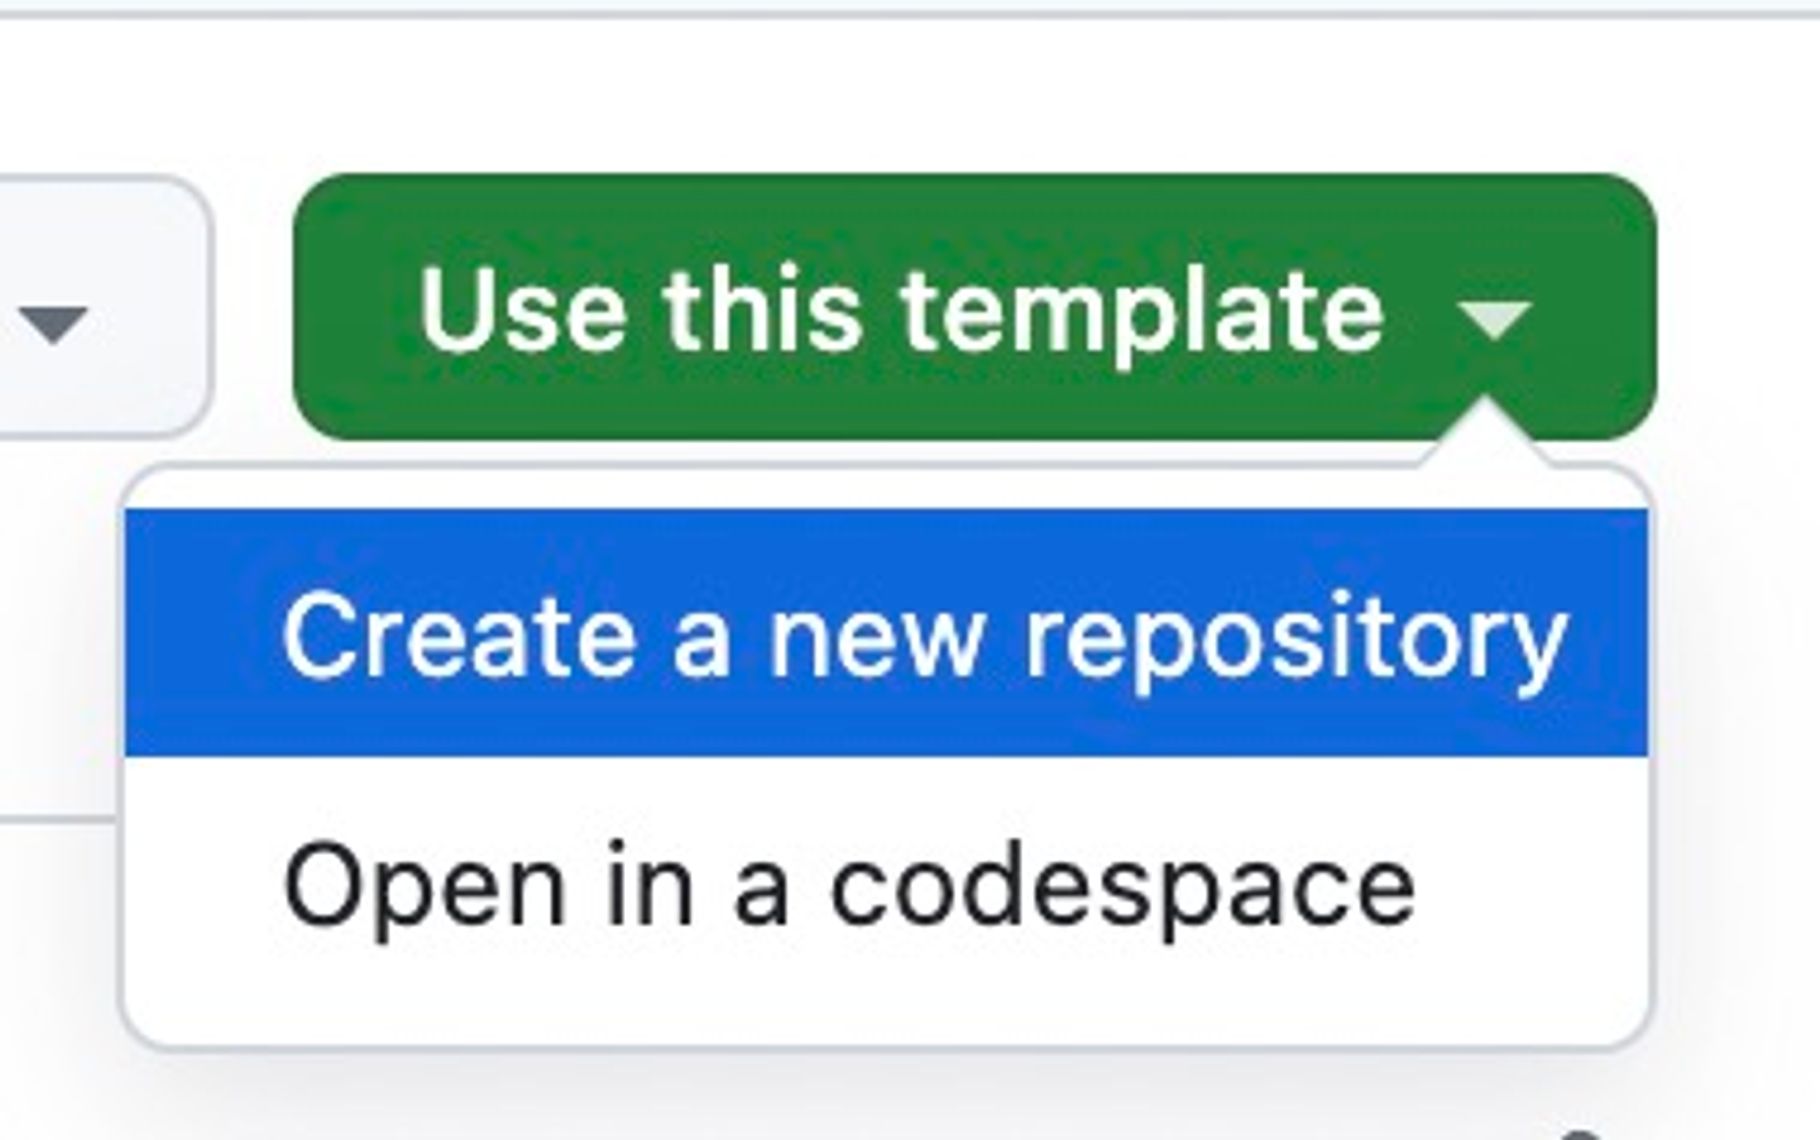
- 以这个仓库为模板创建新仓库:
- 修改
index.html: - 修改
desktopURL和mobileURL: - 在 vercel 上导入跳转页面:

- 配置域名(在此不做赘述):
然后就可以通过自定义域名访问了!
关于 PermaDAO:Website | Twitter | Telegram | Discord| Medium | Youtube
- 原创
- 学分: 9
- 分类: 存储
- 标签:


